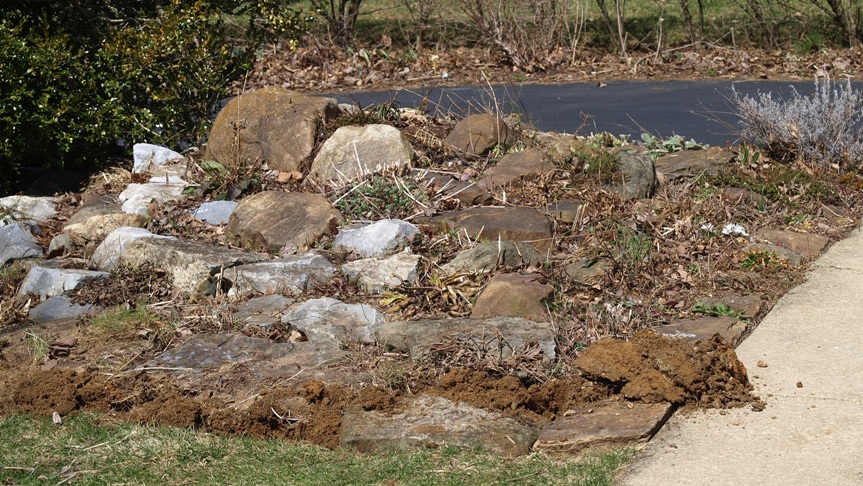
Our rock garden has been a focus area for some years now. I joined the North American Rock Garden Society (NARGS) back in 2008 or so, and they have a wonderful seed exchange, featuring an amazing selection of small plant species from various alpine regions of the world. I take full advantage of their offerings, so each year I grow a host of new varieties from seed. Most never make it through the winter, no matter how hard I try, but that still leaves me with plenty species to showcase. Since I don't have an alpine house, and my hypertufa troughs can hold only so many plants, that means they mostly take up residence in our rock garden. The rock garden is right in the corner between our driveway, the walkway to our front door, and the front yard, so we walk by there all the time – which is great for noticing the flowers and other details on all those tiny plants. Through the years, I've learned a thing or two about rock gardening, although I am still an amateur tinkerer compared to the true enthusiasts. But every time I learn something new, I try to incorporate my learnings into the rock garden design. So it ranks as the most frequently reorganized part of the garden. This past week (April 5-12, 2014) I decided it was time once again, four years after the most recent overhaul, to start afresh. Now, that's no easy task. The prime hardscape feature of a rock garden, after all, is rocks – big rocks, if the area is to look like anything but a field of stones. So the overhaul is back-breaking work – once every four years is about as often as I can muster the energy. So what happens in four years? When the rock garden is freshly built, every plant has a place, in a neatly defined pocket. The planting scheme is sparse, but by early summer, there are flowers everywhere – life is good. The following year may be a little better still: all memory of transplant shock is gone, the plants have settled into their designated spaces, and may bloom a little more robustly. This is also when some seedlings start popping up, and the more vigorous species start claiming a bit more territory. Those trends continue in the following years – the more delicate species say goodbye, the robust ones expand their reach, and before you know it, the rock garden doesn't look much like it did in those early post-overhaul years. Sure, it's possible to diligently weed and edit and keep the desired allotments of space – but the way I garden, that often doesn't make it to the top of my priority list. So the thugs have their way with things. In our case, that might mean Sedum kamtschaticum, Penstemon hirsutus, various self-seeding alliums, myrtle spurge are on a rampage. For me, the best way to tackle the problem is a major overhaul. Let's first take a look at how things started out last Sunday. Coming out of
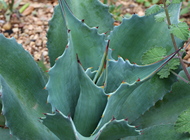
an unusually cold and snowy winter, spring was delayed by a week or two, and
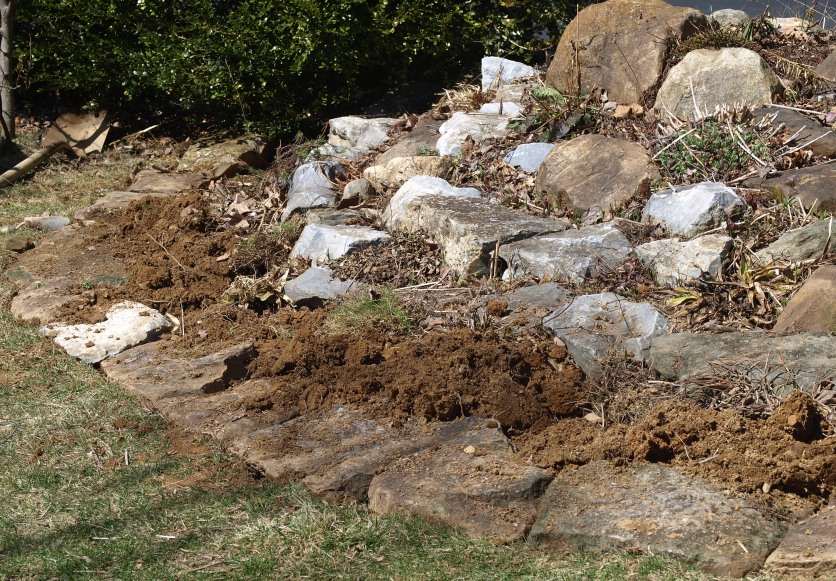
many plants were just starting to wake up. In the next photo, the enclosing arc of flat rocks has been moved outward by the desired amount. Notice the rich reddish-brown clay soil dug up in the process!
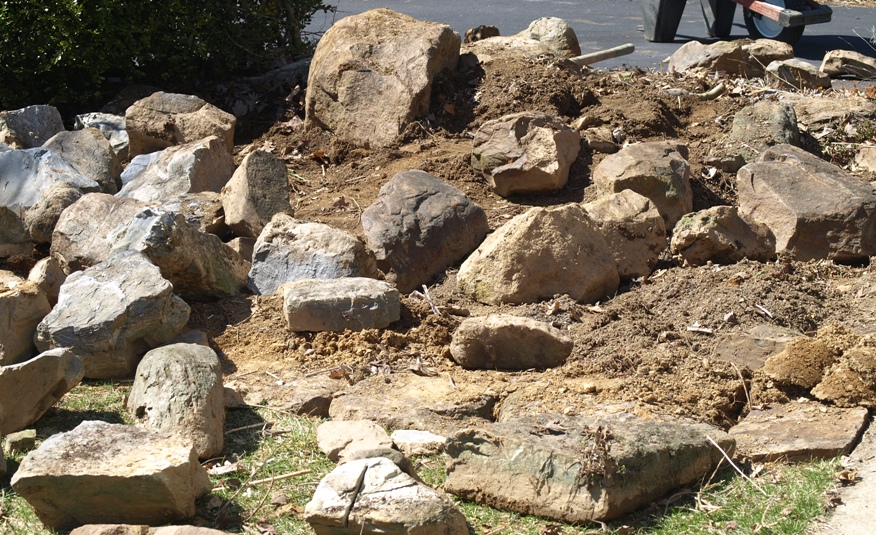
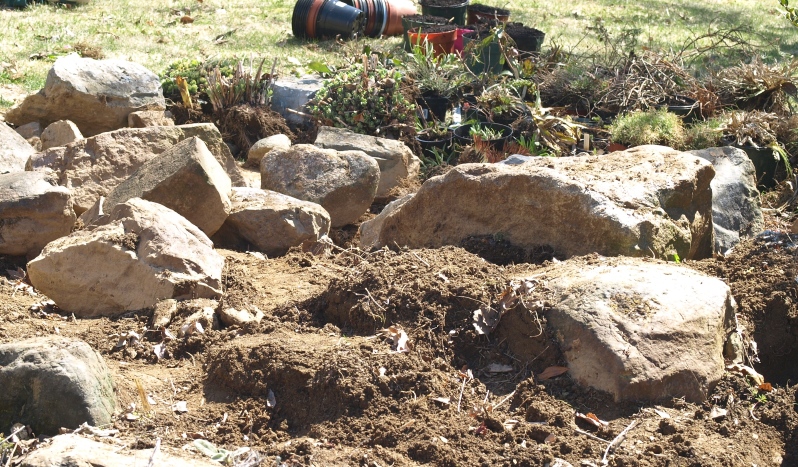
That was the easy part. But in a rock garden overhaul, everything moves! That means all the plants come out, and all the rocks get rearranged. What that looks like in the middle of the project is shown below:
The rock near the top and center of the photo is the piece de résistance: it is by far the heaviest piece in the garden, and it has anchored the top tier of the rock garden in all of its incarnations. It needs to move upward to accomplish the look I'm after: a more pronounced vertical arrangement, with more tiers for planting. So with the help of a crowbar, other rocks as lever points, and a twelve-year-old son, the boulder moved skyward. By less than a foot, but that was plenty of work right there. Increasing the height of any garden area by even half a foot required lots of soil (or other filler material, such as rocks), and since I was pretty much sourcing the materials for this project by whatever I had on hand, I couldn't push things too much. In case you're wondering what happened to the plants: they are set aside in an assortment of pots and clumps just off to the side on the lawn.
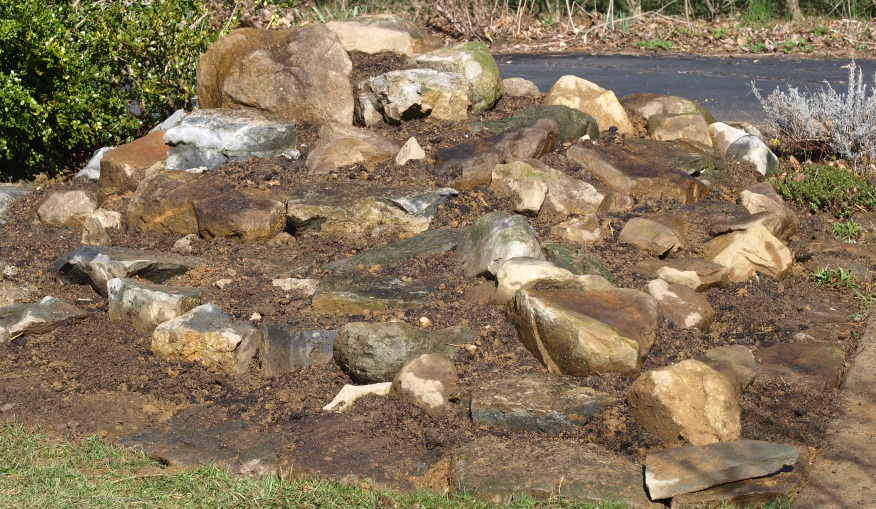
Doesn't look like much, does it? That's pretty much par for the course: once I've discarded excess amounts of the thugs that had designs on taking over the whole garden, the number of plants to be re-introduced to the garden is fairly modest. By the end of Sunday, the rocks were rearranged, and some soil was added to fill the various nooks and crannies – but much more was needed to complete the job. So that had to wait till the next weekend, when I finally had time to go purchase more sand and screenings. Remember that clay? That's the base soil throughout the area, and it's not great for most rock garden plants, which require sharp drainage. So I mixed up a somewhat more suitable medium. It was an interesting mix of colors: yellow sand, reddish-brown clay, black compost, and bluish-gray screenings. That made it easy to monitor the progression of the mixing process in my wheelbarrow: when the individual colors had blended into a brownish grey, it was ready for use. This got shoveled into all the pockets and spaces defined by the rocks, and watered in to allow it to start knitting together. Over time, air pockets between the rocks will fill in and soil will settle, so I'll need to keep some supplemental materials on hand this year. But it's good enough for now – this is what the finished hardscaping looked like:
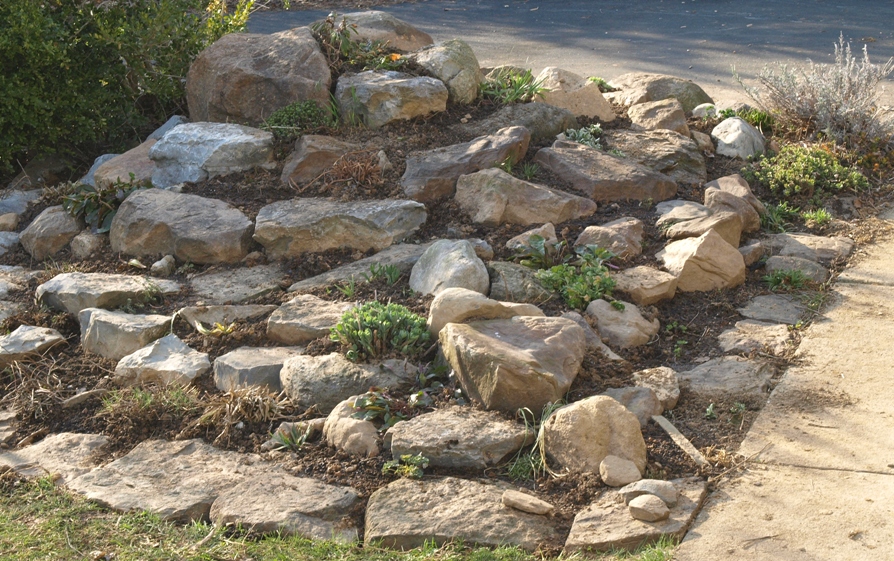
Note that the top tier anchored by macho boulder is now higher than before, and a new feature – kind of a spinal outcropping – runs from the highest point to the corner where lawn and sidewalk meet. I found that without this feature, the even grade from high to low was too gradual, making for a dull appearance. So I got to use more rocks! Now all that remained was putting some plants back in (the ones at the right of the photo above were never removed: that corner of the garden was the only bit unaffected by the overhaul). As always following a restructuring of the rock garden, just returning the plants that were removed earlier to the garden (omitting the majority of the thuggish ones) populated only a small fraction of the (now slightly larger) rock garden. So I raided the nursery area for some more eligible plantings, to fill things out a little bit. There is still plenty of room for new additions:
It feels good to have the first garden project for 2014 completed! Now I just hope that enough of my seedlings will survive in next few years that I can make this garden area into an even better showcase of alpine plants. I hope to share some of the results with you in my journal in the next year or two, so stay tuned! Visitors to this page have left the following comments
I welcome comments about my web pages; feel free to use the form below to leave feedback about this particular page. For the benefit of other visitors to these pages, I will list any relevant comments you leave, and if appropriate, I will update my page to correct mis-information. Note that I discard any comments including html markups, so please submit your comment as plain text. If you have a comment about the website as a whole, please leave it in my guestbook. If you have a question that needs a personal response, please e-mail me.
Last modified:
July 10, 2014 |
|||||||||||||||||||||||||||||||||||||||